

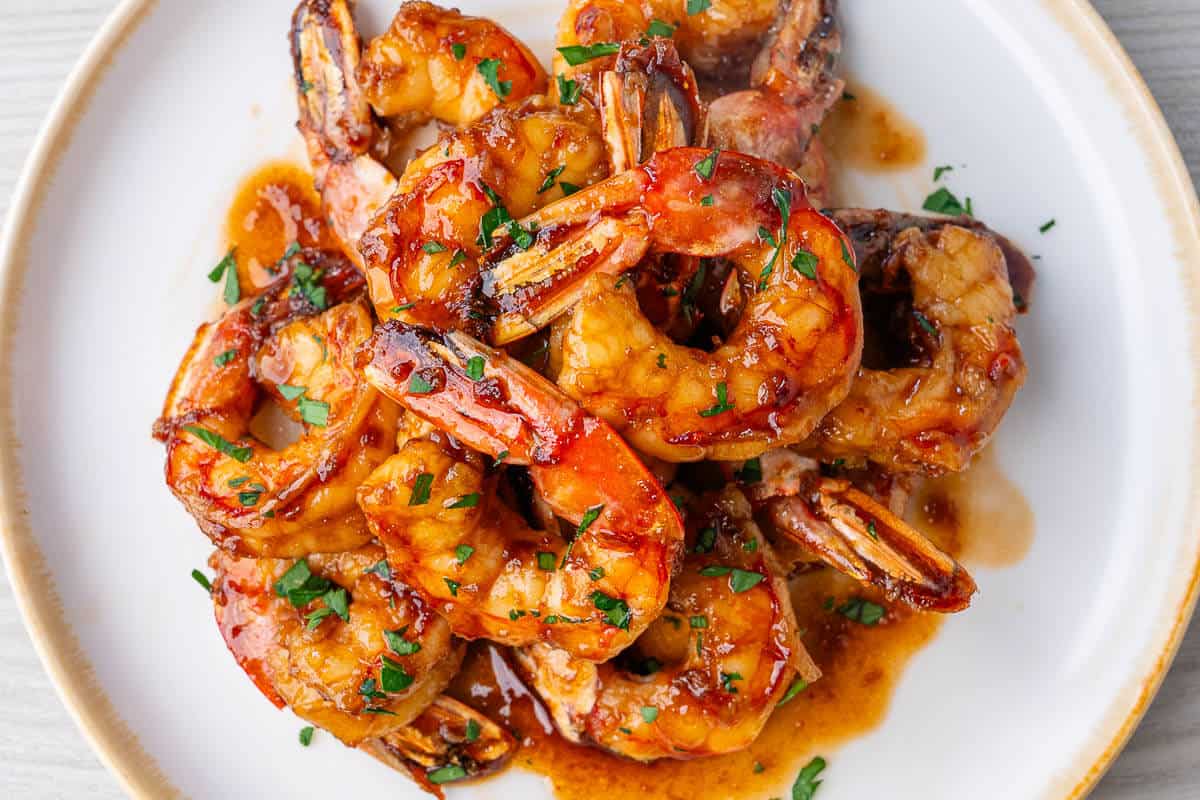
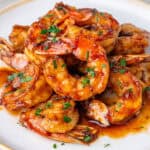
This Honey Garlic Shrimp has a sticky sweet and savory sauce with dinner ready in 15 minutes! It's crazy easy to make and feels like a restaurant meal in your own home. Here I've served it with quinoa rice and a fresh cucumber salad.
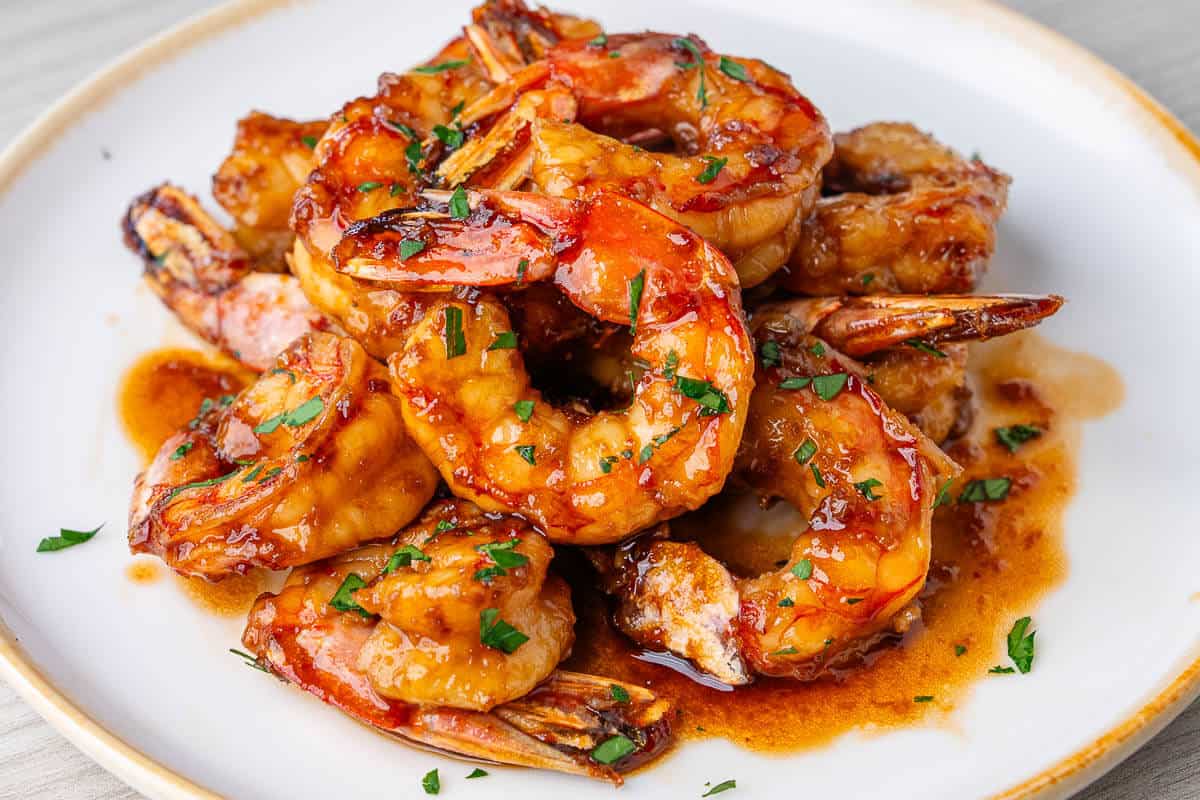
You wont believe how easy it is to make this Honey Garlic Shrimp! I recently shared my honey garlic salmon that you've all been loving, so I made a similar version with shrimp, or prawns as my fellow Aussies call them. I can't decide which one I love more but they've both become regular dishes in my home. As you all know, I'm now pregnant and also looking after a crawling teething baby, so I'm all about super quick dinners. This recipe is cooked in 10 minutes so it's been perfect. To save even more time you can even use cleaned pre de-veined shrimp, or you can do what I do and pass the job to your other half 😀.
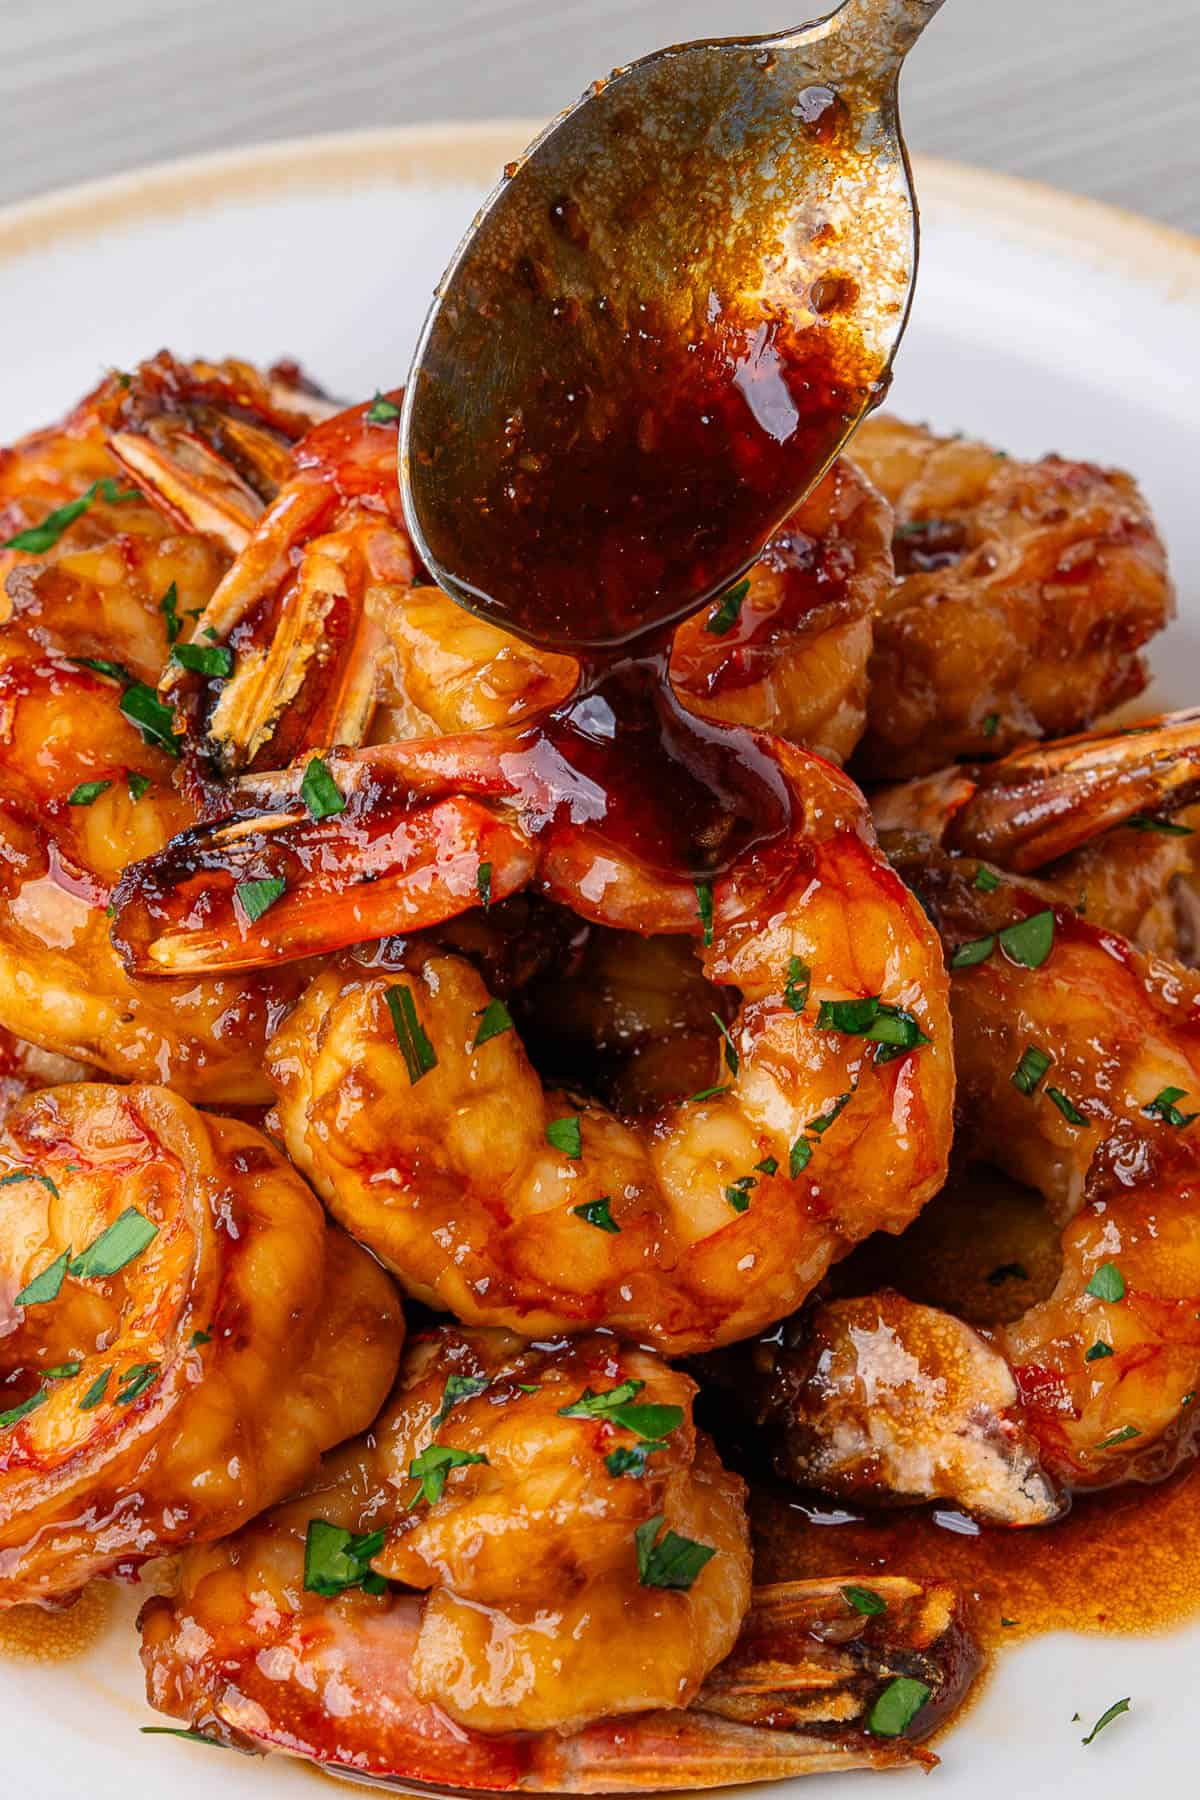
The honey garlic sauce becomes a sticky glaze that's sweet and savory and tastes so good when glazed all over the shrimp. It's simple enough for a weeknight dinner, or you can also dress it up and serve it to guests or an intimate date night, no one will know how easy it is to put together. It tastes like a restaurant meal from your own kitchen for a fraction of the price!
Table of Contents
Recipe Highlights
- Quick & Easy: A simple marinate and cooked in 10 minutes with easy steps anyone can follow!
- Crazy Delicious: The honey garlic sauce becomes a delicious glaze over the shrimp and tastes so good, even kid will love it
- Versatile: Serve with white rice, grains or noodles with either a fresh salad, steamed broccoli or any veggies you like
Ingredients and Substitutions
- Shrimp (Prawns) are the hero today. Ensure they're peeled and deveined. Fresh or frozen works fine - if using frozen just ensure to thaw them first and pat dry well so they aren't watery or wet
- Honey is the key ingredient to make the sauce sweet. You can swap with maple syrup or agave, however I haven't tested these to know the overall flavor
- Garlic along with the honey are the base of the sweet savory sauce. Use fresh garlic or jarred minced garlic, garlic powder just won't give that punch it needs
- Soy sauce adds a savory salty flavor. I've used low-sodium soy sauce. Swap with tamari for a gluten-free option
- Sesame oil brings a lovely nutty aroma and taste. A little goes a long way so you don't need much
- Red pepper flakes is the spicy kick that balances the sweetness well
- Extra virgin olive oil is used to pan fry the shrimp. You can always swap with butter if you prefer
- Garnish with chopped cilantro/coriander or parsley and serve with your favorite rice or carbs. You could also add chopped green onions, scallions and sesame seeds
How to make Honey Garlic Shrimp
Quick, easy and packed with flavor - this is all we need for dinner! This honey garlic shrimp is now on rotation in my home. Here are my simple steps to make it:
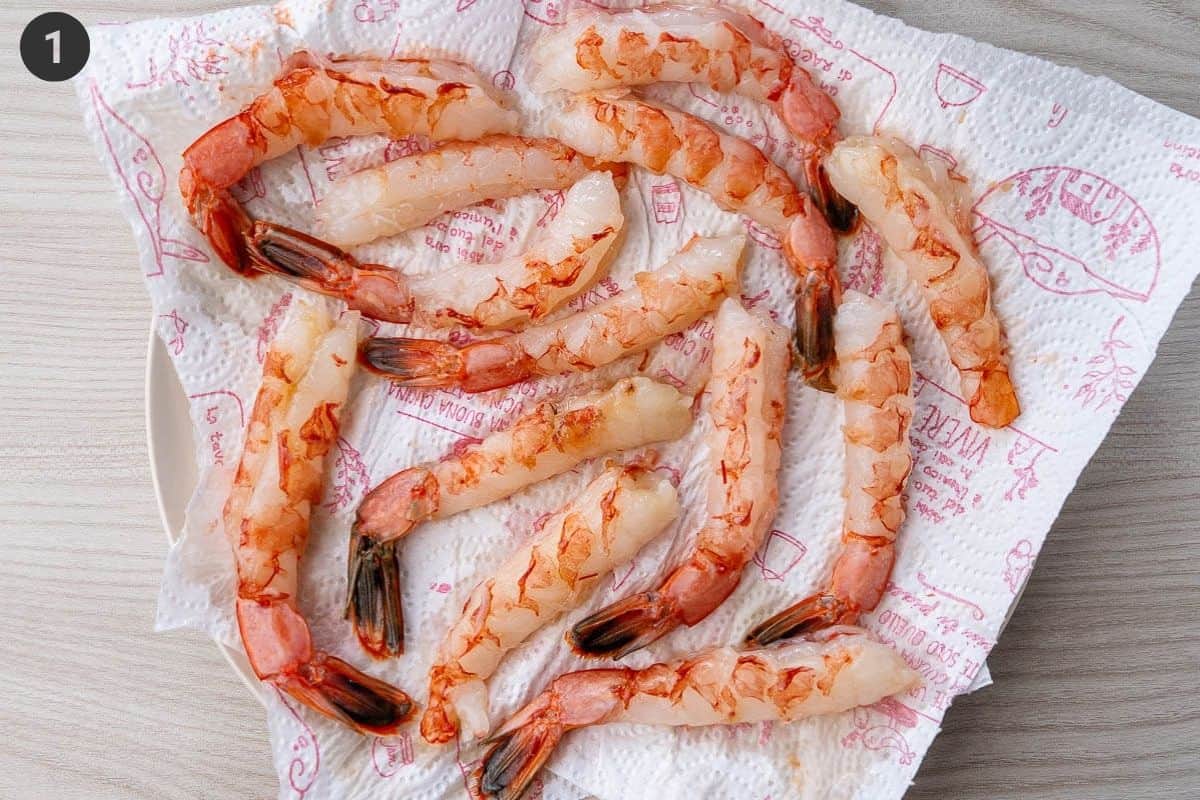
Step 1: Clean and devein shrimp. Pat them dry and salt lightly
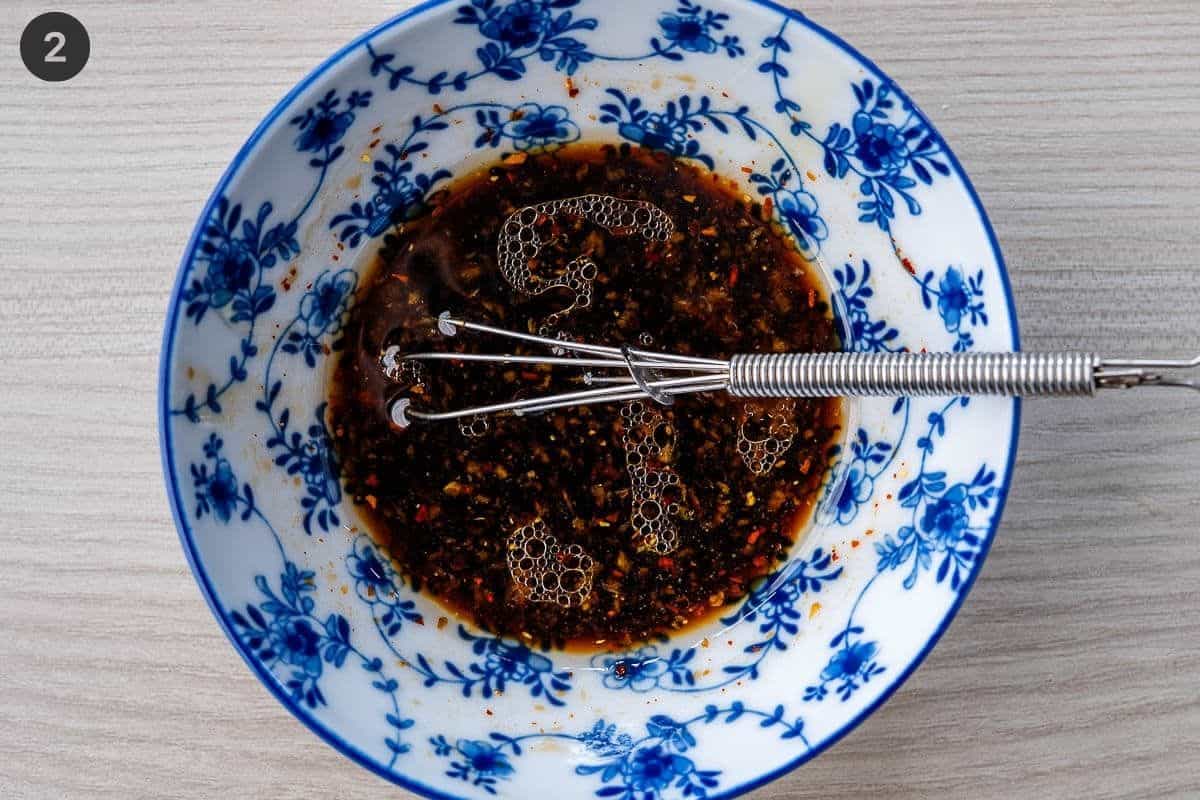
Step 2: Make the sauce in small bowl - add honey, soy sauce, sesame oil, red pepper flakes and grate in the garlic cloves. Add ½ a tablespoon of water and whisk
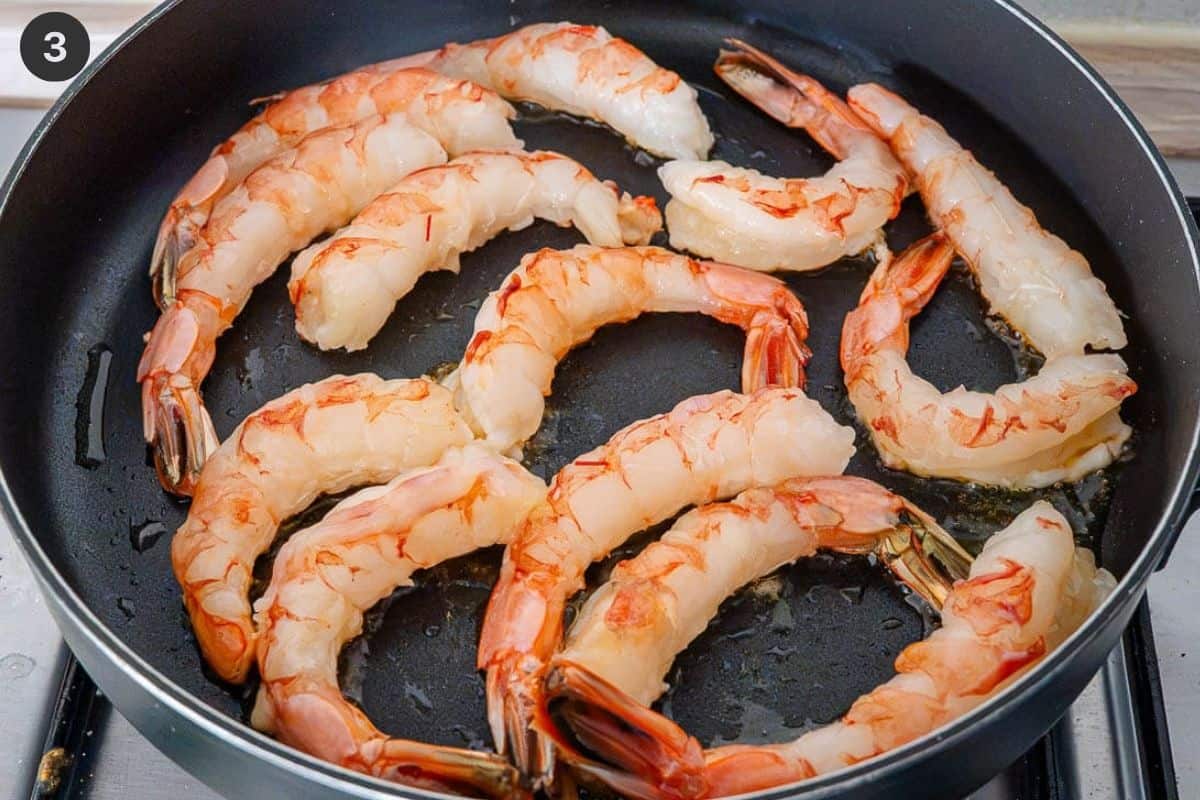
Step 3: Add shrimp one at a time to a heated large nonstick pan pan with olive oil over medium - high heat (place them down clockwise). Cook for ~2-3 minutes until the sides are pink and opaque halfway up
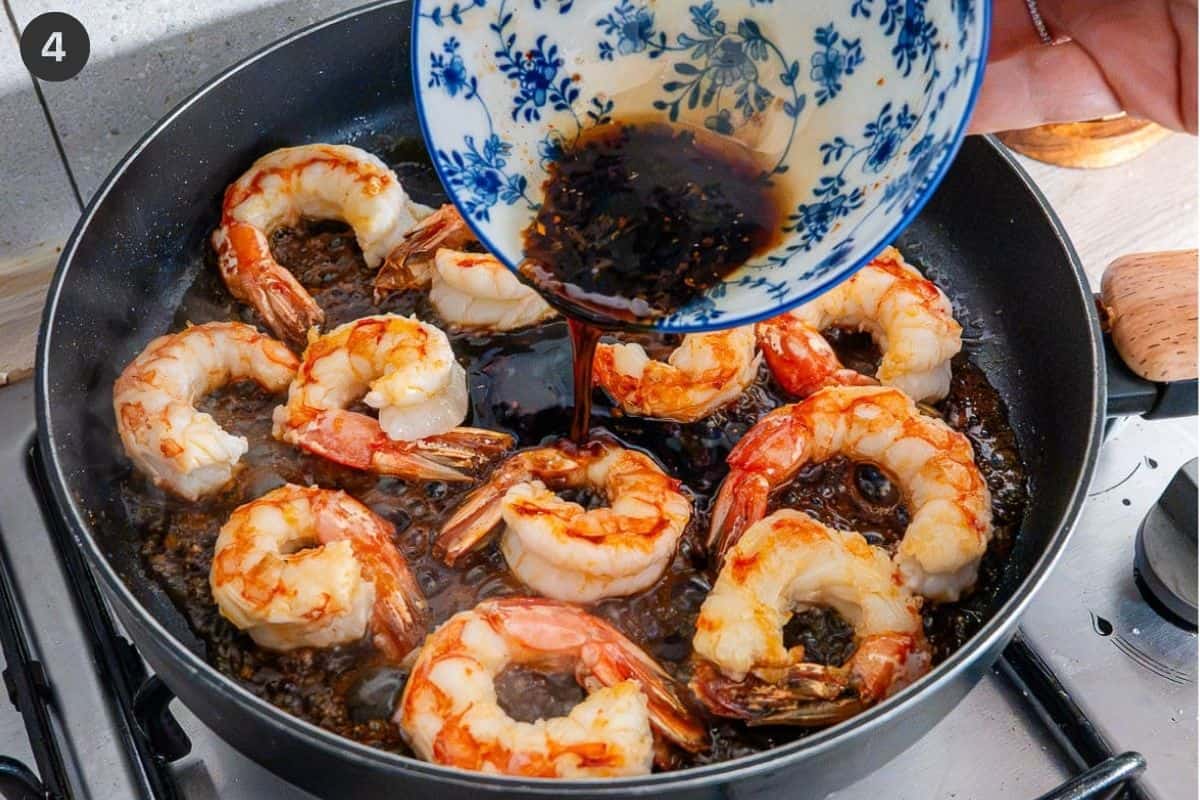
Step 4: Flip them over and cook the second side for a minute then pour in the honey garlic sauce
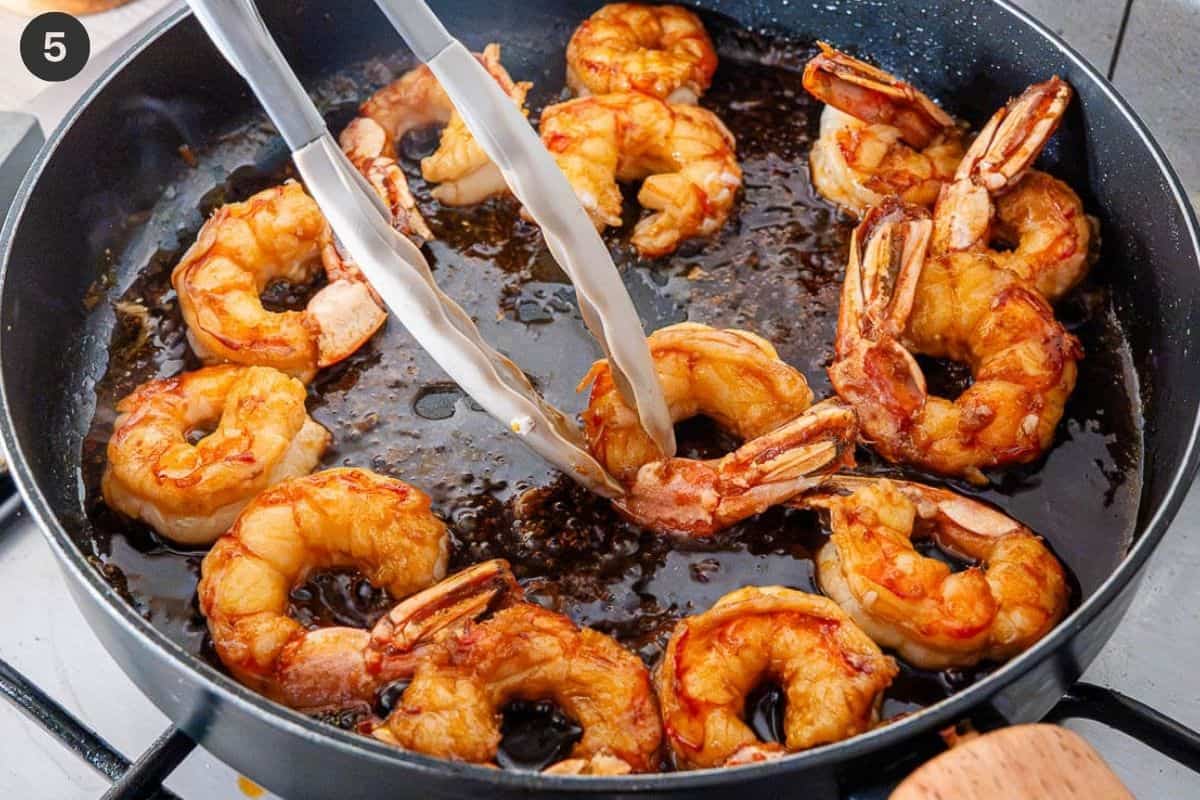
Step 5: Cook in the sauce for ~2 minutes, flipping them so they're all coated. Then remove shrimp to a bowl
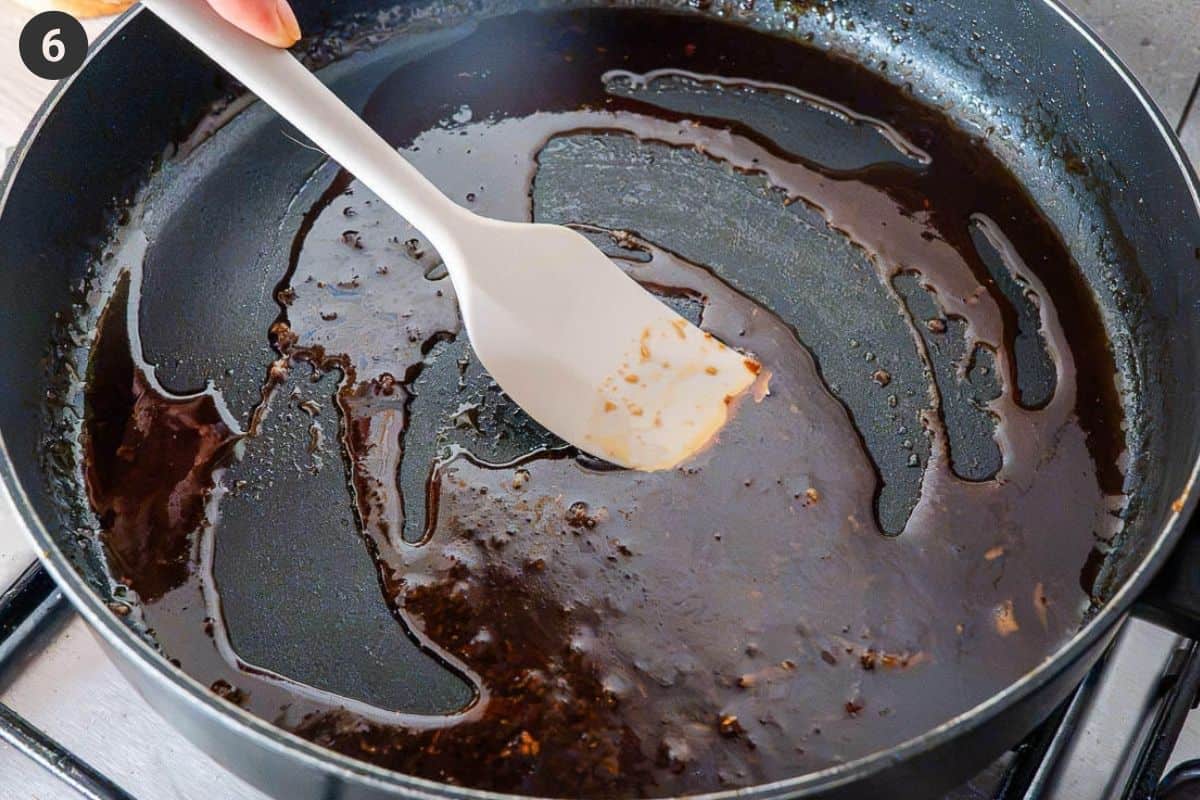
Step 6: Cook the sauce for ~2 minutes over low heat stirring until it has thickened and become glossy. Then pour it into a small ramekin
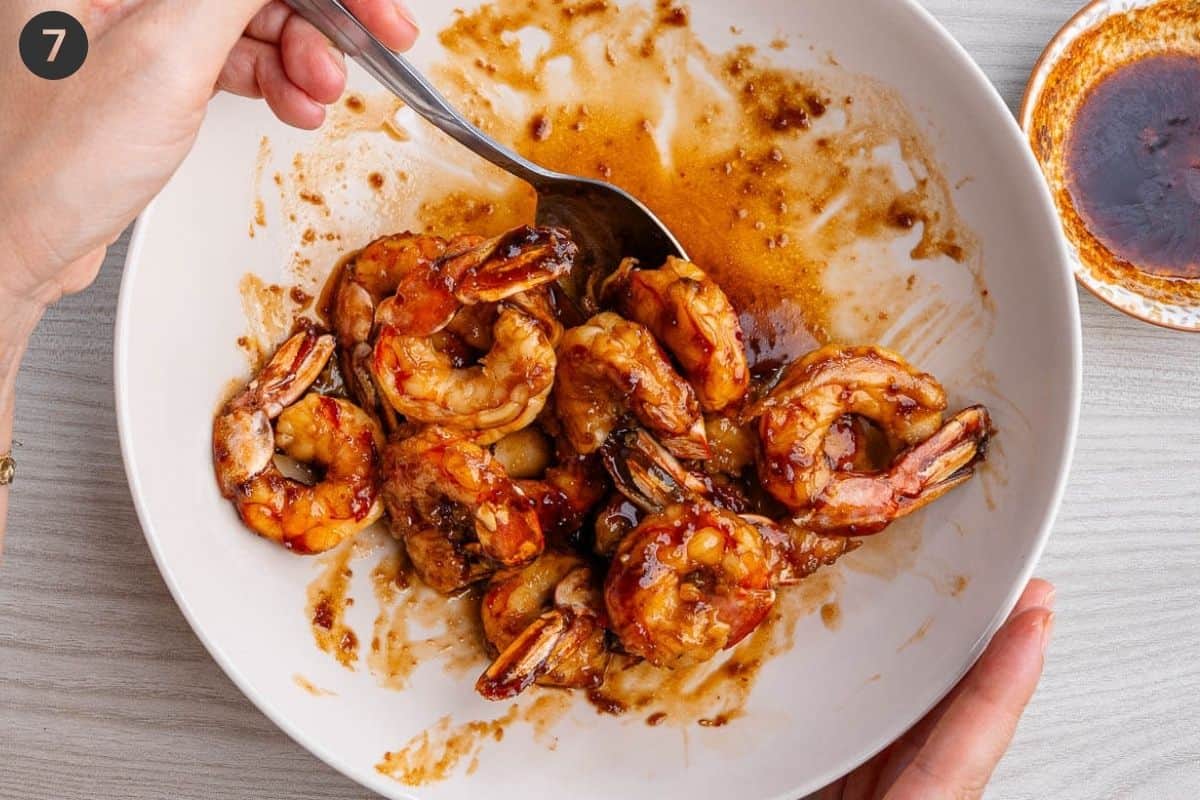
Step 7: Pour most of the sauce over the shrimp and toss together
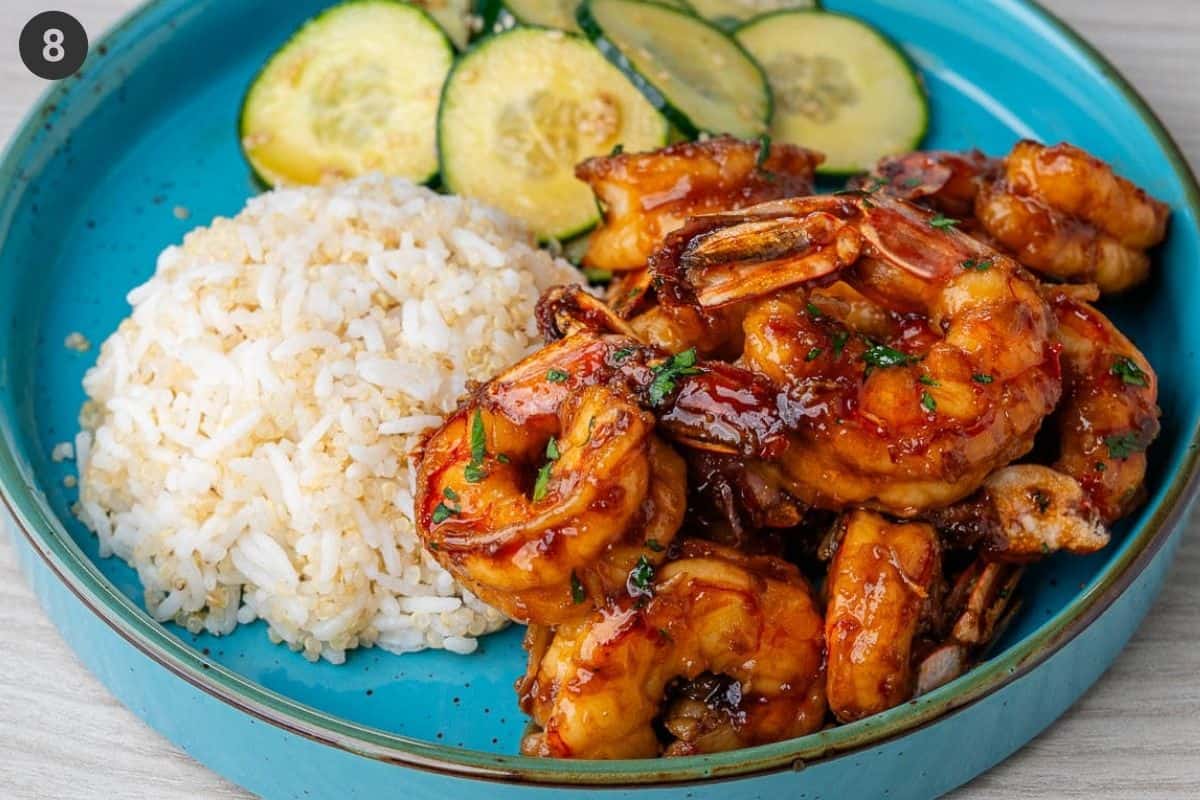
Step 8: Serve with a sprinkle of chopped herbs, rice and a fresh salad and enjoy!
Tips and Tricks
- Always pat dry the shrimp with paper towels before cooking, especially if using frozen shrimp that has been defrosted so that excess water isn't released
- Place the shrimp down clockwise in an even layer so you can flip them in order of cooking - this way they will cook evenly
- Cook shrimp over medium - high heat and only cook the second side for a minute as they will finish cooking in the sauce
- To avoid overcooked shrimp, remove them from the pan once cooked and thicken the sauce for the final few minutes to then glaze over the top
Storage Instructions
- Store leftovers in an airtight container in the fridge for 3 days
- Reheat in a pan over the stovetop with a splash of water for a few minutes, you can also microwave but it can dry the shrimp out
- Frozen cooked shrimp doesn't have the best texture once it's been thawed and reheated so I don't recommend freezing, fresh will always taste best
Serving Suggestions
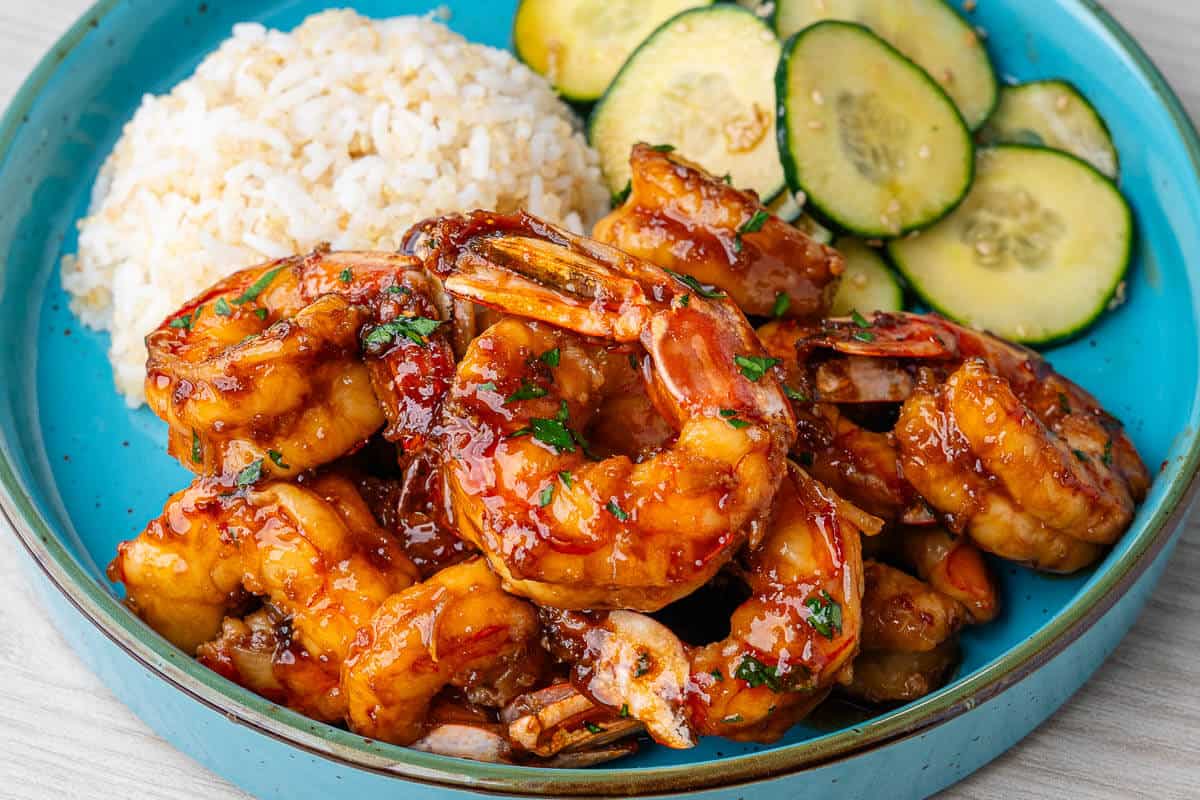
This Honey Garlic Shrimp pairs well with basmati rice, jasmine rice, or even brown rice to soak up that sauce on the bottom. You can also swap for other carbs such as quinoa, farro, noodles or even some crusty bread. Serve with a fresh edamame salad or steamed veggies such as broccoli or asparagus or mixed roasted vegetables would be great too.
For a quick and easy dinner menu, start with some tofu satay, then serve this shrimp for main with a creamy avodado salad and finish with an affogato for dessert.
FAQs
They should only be cooked for 4-5 minutes in total so they don't become overcooked, the inside should be opaque. To make my honey garlic shrimp, they are quickly seared then finish cooking in the marinade for a total of 6 minutes
Yes of course, actually they are what I used today too. Just thaw them and make sure to completely pat them dry with paper towels to remove the excess water
It can be depending on your sauce and what you serve it with. By making a homemade sauce, I personally don't like to add too much honey and prefer low sodium soy sauce. Served with rice, quinoa, veggies or a salad it can be a well balanced healthy and delicious meal everyone will love
More Shrimp Recipes
More Easy Dinners
Looking for other recipes like this? Try these:
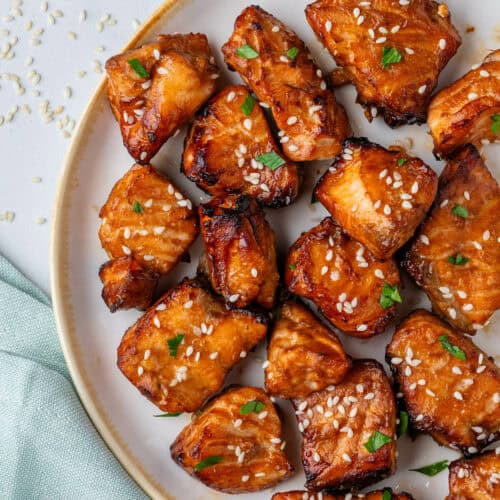
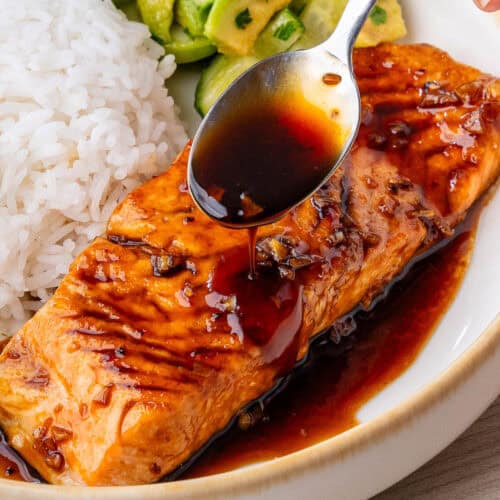
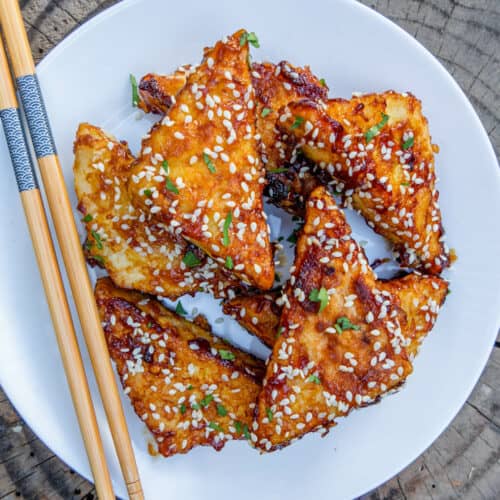
I love seeing your creations and remakes, so be sure to rate the recipe, comment and share your photo on Instagram so I can share the love!
Recipe
Honey Garlic Shrimp (15 Minute Easy Dinner)
Video
Ingredients
- 11oz / 300g shrimp/prawns - cleaned and deveined (~14 pieces)
- 1 ½ tablespoons honey
- 3 medium garlic cloves
- 2 tablespoons soy sauce - I've used low sodium
- ½ tablespoon sesame oil
- Pinch of red pepper flakes
- 1 tablespoon extra virgin olive oil
- Garnish with chopped cilantro/coriander or parsley and serve with rice - I've served with quinoa rice
Instructions
- Ensure shrimp are cleaned and deveined then pat them dry and sprinkle lightly with salt
- In a small bowl or ramekin make the sauce - add the honey, soy sauce, sesame oil, red pepper flakes and grate the garlic cloves with a microplane grater. Add ½ tablespoon of water and whisk to combine
- In a nonstick skillet, heat the olive oil over medium high heat. Add the shrimp one at a time in a single layer - I place them down clockwise which makes flipping them easier. Cook for about 2-3 minutes until you can see the sides halfway up the shrimp are pink and opaque
- Flip each piece and cook the second side only for a minute then pour in the honey garlic sauce
- Cook the shrimp in the sauce for about 2 minutes, flipping them around so they're all coated. Then transfer the shrimp to a large bowl
- Cook down sauce for about 2 minutes over low heat, stirring until it has thickened and become nice and glossy. Then pour it into a small ramekin
- Pour most of the sauce over the shrimp and give it a good toss together. Serve up your delicious honey garlic shrimp with a sprinkle of the chopped herbs, the remaining sauce on the side and enjoy with rice and a fresh salad
Notes
- Pat dry the shrimp with paper towels before cooking, especially if using frozen shrimp that has been defrosted so that excess water isn't released
- Place the shrimp down clockwise in an even layer so you can flip them in order of cooking - this way they will cook evenly
- To avoid overcooked shrimp, remove them from the pan once cooked and thicken the sauce for the final few minutes to then glaze over the top

Comments
No Comments